Approach 1: Use the Import dialog.
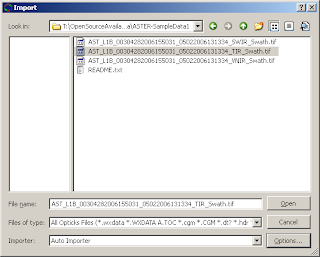
You first bring up the Import dialog by either clicking on the "Import Data..." menu item under the File menu or you can click on the "Import Data" icon that shows up on the Standard toolbar. This will bring up the Import dialog that is shown below.

You can the browse to the directory in question, click on any number of image files and click the "Open" button to load them. All of the selected images are loaded and you are off and running. You can click on "Options.." to change some of the options on how the image is imported (I'll be discussing this more in a future post). If an image cannot be loaded without user input, then the import options dialog will be shown (I'll be discussing this in a future post). Tip Alert: Opticks 4.3.0 and later allow you to select multiple files in this dialog, earlier versions only let you select a single file.
Approach 2: Drag and Drop
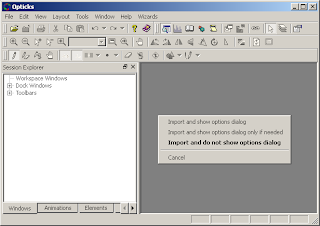
This is my personal favorite. It's easy. Grab the files from Windows Explorer and then drag and drop them onto the running application. You can drag and drop as many files as you like and they will immediately load into Opticks. If you want to bring up the Import options (equivalent to clicking "Options..." as shown above), you can hold the right mouse button as you drag and drop the image onto the application and you'll see a right-click menu show up when drop the files onto Opticks as shown in the screenshot below.

The bold item in the menu is what happens when you simply drag and drop the image onto the application using the left mouse button.
Keep your eye out for future posts in this Opticks 101 series.
No comments:
Post a Comment